We aren't going to tell you how to make ramen. You're adults. Figure it out. Just think about the nutritional content of what you are putting in your meatsuit. Trash in, trash out works reversed as well: quality in, quality out.
What we are going to tell you is how to make the broth for this recipe, as well as the meat.
First: The Sake Bone Broth.
We cheat and use the pressure cooker setting on our Ninja Foodie. Low effort with the best outcome. Highly recommend.
We put the following ingredients in for 4 hours on the pressure cooker's high setting.- Pork bones (if you are lucky, you can get them at a grocery store; if not, then a butcher shop)
- Sake: ~250 milliliters or ~1 cup
- Rice Vinegar: ~15 milliliters or ~2 Tablespoons
- Water: enough to cover the bones, but try not to go past the max fill line on the pressure cooker.
Let your high-pressure bomb of a cooker decompress naturally once it reaches the 4-hour mark.
Remove the bones (you can throw them away, give the marrow to your dog, or even give dogs the bones that are very soft all the way through)
Simmer the broth uncovered until it reduces by about 13mm or roughly a 1/2 inch.
Congratulations! You now have Sake Bone Broth.
You make ramen with it immediately, it's super-effective.
Alternatively, you could store it in the refrigerator for a future project like we did. Mason jars FTW.
Just don't get upset if it congeals when it gets cold, as this is how you know your broth is high in nutrients: things like collagen, calcium, magnesium, potassium, as well as vitamins A, K2, and zinc. All of that gets cooked out of the bones, their marrow, and any connective tissues to be reabsorbed by the broth. The picture above is what it looks like after being in the refrigerator for a day. It's pretty, and it jiggles. Don't make a face. Jiggling is good. If you are worried about fat content, you can scoop that layer off the top when it jellifies in the cold: just realize you are removing flavor in the process.Now, on to the Bacon-Steak Medallions.
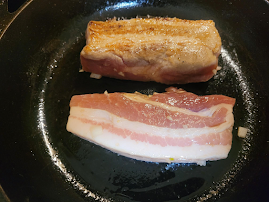
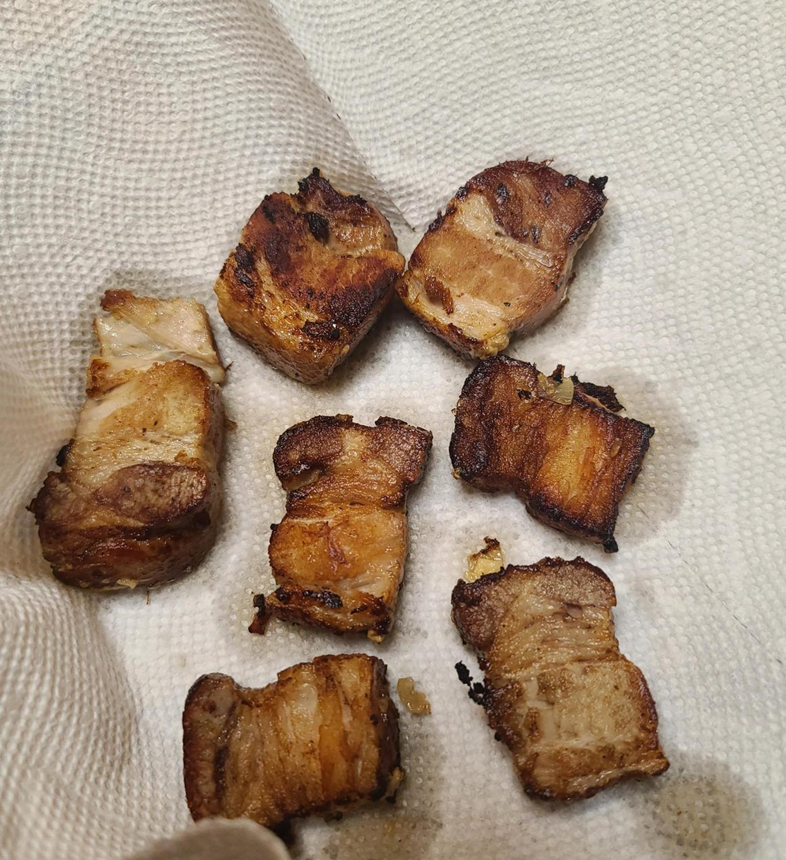
We got the idea for this when we tried the Japanese-style braised pork belly, commonly known as Chashu. We tried it at a few places, and the texture just didn't sit right with us. It needed something. So, we experimented with searing it in slices, and that improved it significantly, in our opinion anyway.
Below is the process we have come up with for our way of making Pork Belly: Crispy Braised Medallions. The process of it is cut the pork belly into blocks, marinate, sear, braise, slice into medallions, sear, serve. This is obviously higher effort than just searing / braising / slicing / serving, but well worth it. We are eventually going to experiment with this recipe further and sous vide instead of braise the pork belly.
You need the following ingredients:
- Pork belly (comes in all kinds of shapes, sizes, and weights, so you get what you get)
- Sake (or whatever other liquid you prefer to marinate and braise it in)
- Garlic
- Onions
- Soy Sauce
- Sesame Oil
- Sake Bone Broth (this is why we made it the day prior, among other reasons)
- Oven
- Dutch Oven
- Pan to brown / sear (cast iron is recommended, as always)
- Tongs
- Sharp Knife
- Oven mitts
- Gallon-sized Resealable Bag
Once all of the meat is in the Dutch oven, add the liquid from the marinade (you kept it, right?), and anything else you wish to braise it in: we added enough sake bone broth to get the meat mostly submerged in the liquid. We then increased the heat going to the Dutch oven and brought the whole thing to a simmer, to kickstart the oven's ability to cook the contents of the Dutch oven. We also gave it a hat before putting the lid on and placing it in the oven for 2 hours at 130 C or 250 - 275 F (we live at 1300 meters above sea level, so we went for the higher temperature). The hat can be considered optional, as we have done this without it, but it really seems to help the braising process along. A' makes this by fold-rolling parchment paper into a cone and trimming it with scissors. It's some kind of kitchen witchery.


Comments
Post a Comment